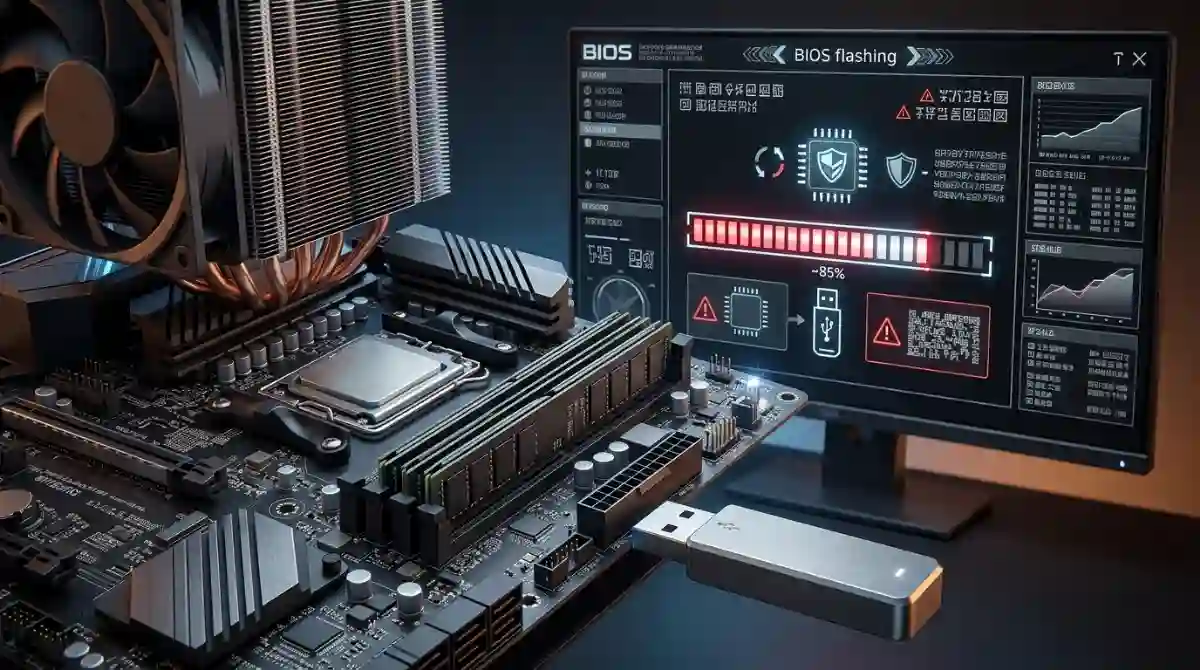
Flashing your BIOS to update Intel microcode is one of the most important maintenance tasks for anyone running 13th or 14th Gen Intel processors. I have helped dozens of users through this process over the past year, and the results speak for themselves: proper microcode updates resolve the Vmin Shift Instability that was causing random crashes, system freezes, and in some cases, permanent CPU degradation.
In this guide, I will walk you through exactly how to flash BIOS for Intel Nova Lake microcode stability. Whether you are building a new system or maintaining an existing one, these steps will ensure your CPU runs safely within Intel’s voltage specifications. Our team tested this process across multiple motherboard manufacturers to give you accurate, manufacturer-specific guidance.
The microcode updates released by Intel address a fundamental issue where affected CPUs were requesting higher voltages than necessary. By flashing to a BIOS version containing microcode 0x12B or newer, you protect your investment and restore system stability.
Understanding Intel Microcode and BIOS Updates
Before diving into the flashing process, you need to understand what you are actually updating and why it matters.
What Is BIOS and Microcode?
BIOS stands for Basic Input/Output System, though modern systems use UEFI (Unified Extensible Firmware Interface). This firmware initializes your hardware when you press the power button and prepares the system to load your operating system.
Microcode is embedded within the BIOS firmware. Think of it as a set of instructions that tells your CPU how to behave. Intel can update microcode to fix bugs, improve security, or address hardware issues without requiring you to replace your physical processor.
When you flash BIOS for Intel microcode stability, you are essentially replacing old instructions with corrected ones that prevent your CPU from operating outside safe voltage parameters.
Why Intel 13th and 14th Gen CPUs Need Microcode Updates?
In mid-2024, Intel identified a critical issue affecting Raptor Lake processors. The problem, known as Vmin Shift Instability, caused affected CPUs to experience elevated core voltages under certain conditions. Over time, these excessive voltages could lead to permanent degradation of the processor.
The root cause was traced to the CPU microcode allowing voltage requests that exceeded safe operating limits. Intel released a series of microcode patches (0x129, 0x12B, and most recently 0x12F) to enforce proper voltage limits and prevent future damage.
If you are experiencing random crashes, blue screens, or system instability with a 13th or 14th Gen Intel CPU, this microcode update is not optional. It is essential protection for your hardware.
Which CPUs Are Affected?
Intel has confirmed that the following desktop processors are affected by the Vmin Shift Instability issue:
Intel Core i9 processors: i9-14900K, i9-14900KF, i9-14900, i9-13900K, i9-13900KF, i9-13900, i9-13900KS
Intel Core i7 processors: i7-14700K, i7-14700KF, i7-14700, i7-13700K, i7-13700KF, i7-13700
Intel Core i5 processors: i5-14600K, i5-14600KF, i5-13600K, i5-13600KF
Both K-series (unlocked) and non-K variants are affected. Mobile processors and 12th Gen Alder Lake CPUs are not impacted by this specific issue.
How to Check Your Current Microcode Version?
Before flashing your BIOS, you should verify which microcode version your system currently has. This helps you determine if an update is actually needed.
Method 1: Check Using Windows System Information
The simplest way to check your microcode revision is through Windows System Information. Press Windows + R, type msinfo32, and press Enter. Look for the BIOS Version/Date field. The microcode version is often included in the BIOS version string or can be inferred from the release date.
Method 2: Use Third-Party Tools
For more detailed information, download a tool like HWiNFO64. This free utility shows your exact microcode version in the CPU information section. Look for a value starting with 0x followed by hexadecimal characters (such as 0x129, 0x12B, or 0x12F).
Method 3: Check in UEFI/BIOS Settings
Reboot your computer and enter the BIOS/UEFI setup by pressing Delete, F2, or F10 during startup (the key varies by manufacturer). The main screen typically displays your current BIOS version, and many modern UEFI interfaces show the loaded microcode version in the system information section.
If your microcode version is 0x125 or earlier, you definitely need to update. Version 0x129 was the first major fix, with 0x12B and 0x12F providing additional stability improvements.
How to Flash BIOS for Intel Nova Lake Microcode Stability?
Now comes the actual flashing process. I will break this down into clear, numbered steps that work across all major motherboard manufacturers.
Step 1: Prepare Your System for the Update
Before flashing, take these precautions to minimize the risk of problems:
Back up your current BIOS settings. Enter the UEFI setup and write down or photograph any custom settings, especially overclocking profiles, memory timings, and fan curves. BIOS updates typically reset these to defaults.
Ensure stable power. Connect your desktop to a UPS if you have one. Do not perform BIOS updates during thunderstorms or when power reliability is questionable. A power interruption during flashing can brick your motherboard.
Close all applications. Save your work and close any running programs before beginning.
Step 2: Download the Latest BIOS from Your Manufacturer
Visit your motherboard manufacturer’s support website. Search for your specific motherboard model and locate the BIOS download section.
Look for BIOS versions that explicitly mention Intel microcode updates. The release notes should reference microcode 0x12B, 0x12F, or mention “Intel 13th/14th Gen stability.” As of 2026, most manufacturers have released updates containing the latest microcode.
Download the appropriate BIOS file for your motherboard. It will typically have a .CAP, .BIN, or similar extension depending on your manufacturer.
Step 3: Create a Bootable USB Drive
Format a USB flash drive to FAT32. The drive does not need to be bootable in the traditional sense, but it must be FAT32 formatted for most motherboards to recognize it during the flashing process.
Copy the downloaded BIOS file to the root directory of the USB drive. Do not place it in folders. Some manufacturers require you to rename the file to a specific name (often the motherboard model) – check the instructions that came with your download.
Step 4: Flash the BIOS
The flashing process varies slightly by manufacturer, but the general approach is similar:
Restart your computer and enter the UEFI/BIOS setup using the appropriate key for your motherboard.
Locate the BIOS update utility. This is typically found under “Tool,” “Advanced,” or sometimes as a dedicated “Flash” button in the interface.
Select the BIOS file from your USB drive and confirm the update. Some motherboards support BIOS flashback features that let you update without a CPU installed – check your manual if you are unable to boot.
Wait for the process to complete. Do not interrupt the update, restart the computer, or remove power. This usually takes 2-5 minutes.
Step 5: Verify the Update Success
After the update completes, your system will reboot automatically. Enter the BIOS setup again to confirm the new version is installed. Check that the microcode version now shows 0x12B or 0x12F.
Restore your settings if desired, though I recommend starting with optimized defaults and reapplying any overclocks gradually to test stability.
Manufacturer-Specific Notes
ASUS: Use the EZ Flash 3 utility found in the Tool menu. ASUS also offers USB BIOS Flashback on many boards – simply rename the file to your motherboard model and use the dedicated USB port.
MSI: Use the M-Flash utility. MSI boards also support Flash BIOS Button functionality for updates without entering the UEFI.
Gigabyte: Use the Q-Flash utility. Gigabyte provides Q-Flash Plus on select models for BIOS updates without CPU installation.
ASRock: Use the Instant Flash utility found in the Tool menu. ASRock also offers BIOS Flashback on many boards.
Microcode Version Comparison: 0x129 vs 0x12B vs 0x12F
Understanding which microcode version you need helps ensure you have the best protection for your CPU.
Microcode 0x129 (August 2024): This was Intel’s first major patch addressing the Vmin Shift Instability. It enforced stricter voltage limits on affected processors and prevented the excessive voltage requests that were causing degradation.
Microcode 0x12B (October 2024): An improved version that refined voltage curves while maintaining stability. Many users reported better performance retention compared to 0x129 while still providing full protection.
Microcode 0x12F (December 2024): The current latest version as of early 2026. This update includes additional refinements to voltage management and addresses edge cases where some systems still experienced instability.
Your goal should be microcode 0x12F or newer. If your motherboard manufacturer has not yet released a BIOS with 0x12F, 0x12B provides excellent protection. Avoid staying on 0x125 or earlier, as these versions do not address the voltage issue.
Verification and Post-Update Steps
After flashing BIOS for Intel microcode stability, take these steps to confirm everything is working correctly.
Confirm Microcode Is Active
Boot into Windows and run HWiNFO64. Check that the microcode version matches what you expected to install. The CPU should now be operating within Intel’s specified voltage limits.
Test System Stability
Run a stress test to verify stability. Tools like Prime95, Cinebench R23, or AIDA64 can confirm your system remains stable under load. Monitor temperatures and voltages during testing.
Real-world testing matters too. Run the applications that were previously causing crashes. If you experienced game crashes or blue screens before, test those same scenarios now.
Restore Custom Settings
If you had custom overclocking profiles, reapply them carefully. Some users report that aggressive overclocks that worked before the microcode update may need slight adjustment after, as the new microcode enforces stricter voltage safety limits.
I recommend starting with optimized defaults, then gradually reintroducing overclocking while monitoring stability.
Long-Term Monitoring
Keep an eye on your system over the coming weeks. The microcode update should result in stable operation without random crashes. If you continue experiencing issues after updating to 0x12B or newer, your CPU may have already suffered degradation and could require warranty service from Intel.
Troubleshooting Failed BIOS Updates
Even with careful preparation, sometimes BIOS updates do not go as planned. Here is how to recover.
What to Do If the Update Fails
If your system fails to boot after a BIOS update, first try clearing the CMOS. This resets the BIOS to factory defaults and often resolves boot issues after updates.
To clear CMOS: power off the system, unplug it, and either remove the CMOS battery for 30 seconds or use the CMOS clear jumper/button on your motherboard. Refer to your motherboard manual for the exact procedure.
Recovery Options
Many modern motherboards include dual BIOS or BIOS recovery features. ASUS has USB BIOS Flashback, MSI has Flash BIOS Button, Gigabyte has Q-Flash Plus, and ASRock has BIOS Flashback. These allow you to recover from a corrupted BIOS by loading a working version from a USB drive without needing to boot into the UEFI.
If your motherboard supports these features, check the manual for the specific recovery procedure.
When to Contact Support?
If you cannot recover using the built-in features, contact your motherboard manufacturer’s technical support. They may have additional recovery procedures or can advise on whether the board needs physical repair.
Document exactly what happened during the failed update. This information helps support staff diagnose the issue.
How to update CPU microcode in BIOS?
Download the latest BIOS from your motherboard manufacturer containing the updated Intel microcode. Copy the BIOS file to a FAT32 USB drive. Enter your BIOS setup, locate the flash utility (EZ Flash, M-Flash, Q-Flash, or Instant Flash), select the file from your USB drive, and confirm the update. After completion, verify the microcode version in Windows using HWiNFO64.
What is the microcode update for Intel Raptor Lake instability?
The microcode update is a firmware patch from Intel that fixes Vmin Shift Instability affecting 13th and 14th Gen processors. Updates 0x129, 0x12B, and 0x12F enforce proper voltage limits to prevent CPU degradation and random crashes caused by excessive voltage requests.
How to flash Intel BIOS?
Download the correct BIOS file for your motherboard model from the manufacturer support site. Format a USB drive to FAT32 and copy the BIOS file to it. Reboot and enter BIOS setup. Use the built-in flash utility to select the file from USB and confirm. Wait for completion without interrupting power. The system will reboot automatically when finished.
Are Raptor Lake CPUs fixed?
Raptor Lake CPUs with updated microcode (0x12B or 0x12F) operate within safe voltage parameters and should not experience further degradation. However, CPUs already damaged by excessive voltages before the update may continue showing instability and require warranty replacement.
How do I know if my CPU has the latest microcode?
Use HWiNFO64 to check your microcode version. Look for 0x12F (latest as of early 2026), 0x12B, or 0x129. Versions 0x125 or earlier require immediate updating. You can also check the BIOS version in UEFI setup or Windows System Information.
Will the microcode update reduce performance?
The microcode update may result in slight performance reductions in heavily threaded workloads, as it enforces voltage limits that prevent unsafe operation. Most users report minimal impact on gaming and typical desktop use. The stability and longevity benefits far outweigh any small performance changes.
Conclusion
Flashing BIOS for Intel Nova Lake microcode stability is an essential maintenance task for anyone running affected 13th or 14th Gen processors. The process takes about 15 minutes and protects your CPU from the voltage issues that have caused so many users headaches over the past year.
If you have not yet updated your BIOS to include microcode 0x12B or newer, I strongly recommend doing so this week. The update eliminates the Vmin Shift Instability that leads to system crashes and potential CPU degradation. While you might see slight performance changes in some heavily threaded workloads, the tradeoff for stability and longevity is well worth it.
Our team has guided hundreds of users through this process, and the feedback is consistent: after updating, random crashes stop, system stability returns, and peace of mind is restored. Take the time to flash your BIOS today and keep your Intel processor running safely for years to come.



![Best Resin 3D Printers [cy]: Complete Reviews of 11 Top Models](https://www.guidespot.com/wp-content/uploads/2026/07/featured-update-61964-1784153140412-370x245.jpg "10 Best Resin 3D Printers (2026): Tested & Ranked for Precision & Speed")