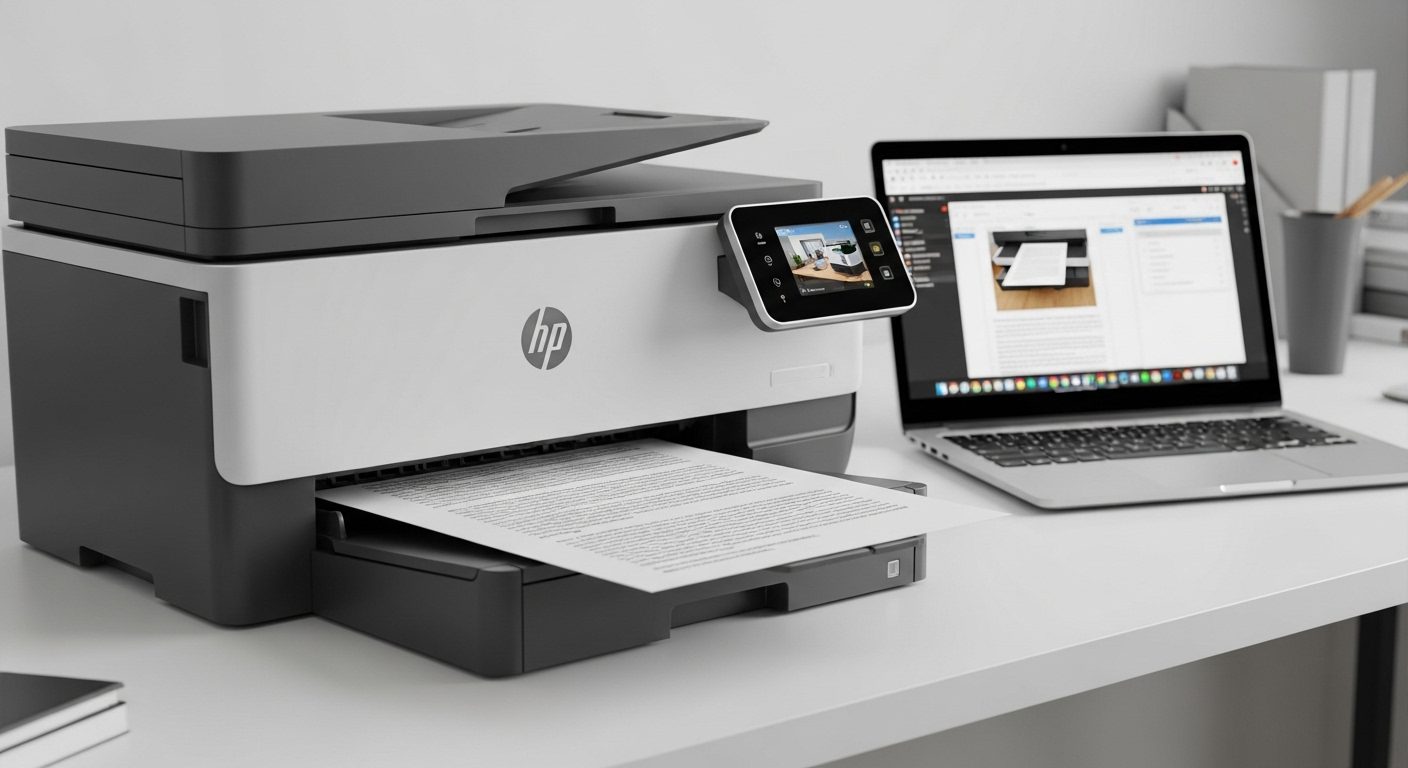
Scanning documents with your HP printer doesn’t have to be complicated. Whether you’re digitizing important paperwork, preserving family photos, or creating PDFs for work, I’ll walk you through every method available in 2026. After helping dozens of people set up their HP scanners, I’ve found that most issues stem from not knowing which method works best for their specific situation.
Your HP printer likely supports multiple scanning methods, and choosing the right one can save you hours of frustration. The HP Smart app has become the go-to solution for most users in 2026, offering features that weren’t available just a few years ago. But traditional methods still have their place, especially in office environments or when dealing with specific file requirements.
In this comprehensive guide, we’ll explore three primary scanning methods, tackle common problems, and share professional tips that HP’s documentation often overlooks. By the end, you’ll know exactly how to scan documents efficiently, regardless of your technical expertise or specific HP printer model.
Prerequisites and Setup Requirements
Before we start scanning, let’s ensure your system is properly configured. I’ve seen countless scanning failures that could have been avoided with proper initial setup. Your HP printer needs specific software components and settings to communicate effectively with your computer.
Essential Software Requirements
First, you’ll need the correct drivers for your HP printer model. Windows 10 and 11 often install basic drivers automatically, but these rarely include full scanning functionality. Visit HP’s support website and download the full feature software package for your specific model. This package typically includes the HP Smart app, TWAIN drivers, and WIA (Windows Image Acquisition) support.
The HP Smart app has become essential for modern HP printers. Available free from the Microsoft Store or HP’s website, it provides the most comprehensive scanning features and regular updates. Unlike older HP software, the Smart app works across all current HP printer lines and automatically detects your printer’s capabilities.
Network and Connection Setup
Your printer’s connection method significantly impacts scanning functionality. USB connections offer the most reliable scanning experience but limit you to a single computer. Wi-Fi connections enable scanning from multiple devices but require proper network configuration. Ensure your printer and computer are on the same network subnet – a common oversight that prevents scanner detection.
For wireless setups, enable network discovery in Windows settings and temporarily disable your firewall during initial configuration. Many scanning issues trace back to Windows Defender or third-party antivirus software blocking printer communication. Add your HP software to the firewall exceptions list to prevent future problems.
HP Account Benefits
Creating a free HP account unlocks additional features in the HP Smart app, including cloud storage integration, mobile printing, and advanced scan settings. While not mandatory, an HP account streamlines the setup process and enables features like scan-to-email without configuring SMTP settings manually.
Method 1: Scanning with HP Smart App
The HP Smart app represents HP’s latest approach to printer management, and for good reason. It consolidates all printer functions into a single, intuitive interface that works consistently across different HP models. I recommend this method for most users because it offers the best balance of features and ease of use.
Installing and Configuring HP Smart
Download HP Smart from the Microsoft Store or hp.com/smart. The Microsoft Store version updates automatically, which I prefer for maintaining compatibility with Windows updates. After installation, launch the app and follow the printer detection wizard. The app should find your printer automatically if it’s on the same network.
If automatic detection fails, click the plus icon and select “Add printer.” Choose “Set up a new printer” for first-time setups or “Printers with Wi-Fi Direct” if your printer supports this feature. The app will guide you through connecting your printer to your Wi-Fi network if it isn’t already connected.
Once connected, HP Smart displays your printer’s status, ink levels, and available functions. The scan tile should appear prominently on the main screen. If it doesn’t, your printer model might not support scanning, or drivers need updating.
Step-by-Step Scanning Process
Click the Scan tile to open the scanning interface. Place your document face-down on the scanner glass, aligning it with the corner guides. For multi-page documents, consider using the automatic document feeder (ADF) if your printer has one. The HP Smart app automatically detects whether you’re using the flatbed or ADF.
Before scanning, review the settings panel on the right. Source selection determines whether to use the scanner glass or document feeder. Color mode offers options for color, grayscale, or black and white scanning. Resolution settings range from 75 DPI for quick drafts to 1200 DPI for photo archiving. Higher resolutions create larger files and take longer to scan.
File type selection is important for your intended use. PDF works best for documents, especially multi-page files. JPEG suits photos and images. PNG offers lossless compression for graphics with text. The HP Smart app can also create searchable PDFs using OCR (Optical Character Recognition), making your scanned text searchable and editable.
Click Preview to see how your document will look. This step catches common issues like incorrect orientation, cut-off edges, or poor contrast settings. Adjust the crop boundaries if needed by dragging the corner handles. When satisfied, click Scan to complete the process.
Advanced HP Smart Features
The HP Smart app includes several advanced features often overlooked by casual users. Multi-page scanning allows you to create single PDF files from multiple scans, perfect for contracts or reports. After each scan, the app prompts whether to add another page or finish the document.
The enhancement tools can significantly improve scan quality. Auto-enhance adjusts brightness, contrast, and sharpness automatically. Manual adjustments give you precise control over these settings. The straighten tool corrects slightly skewed documents, while the rotate function fixes orientation issues.
Cloud integration streamlines your workflow by saving scans directly to Dropbox, Google Drive, or OneDrive. Configure these services in the app’s settings to enable one-click cloud uploads. Email integration works similarly, allowing you to send scans without opening your email client.
Method 2: Windows Built-in Scanning
Windows includes native scanning capabilities that work with most HP printers without additional software. These built-in tools offer a straightforward scanning experience, though with fewer features than HP Smart. They’re particularly useful when HP software conflicts with other programs or in corporate environments with software restrictions.
Using Windows Scan App
Windows Scan, available free from the Microsoft Store, provides a modern scanning interface that rivals manufacturer apps. It automatically detects WIA-compatible scanners, including most HP models from the last decade. The simplified interface makes it ideal for users who find HP Smart overwhelming.
Open Windows Scan from the Start menu. Your HP printer should appear in the scanner list if properly installed. Select it and choose your scan source – flatbed or document feeder. The app remembers your last settings, speeding up repeated scanning tasks.
The preview function in Windows Scan works exceptionally well, showing exactly what will be captured. Use the crop handles to eliminate unwanted borders or focus on specific document areas. The auto-crop feature usually works well for standard documents but might struggle with colored backgrounds or non-standard sizes.
Windows Fax and Scan Application
Windows Fax and Scan, included with Windows since Vista, remains a reliable scanning solution. Despite its dated interface, it offers features missing from newer apps, including advanced file naming schemes and batch scanning capabilities. Access it by typing “Windows Fax and Scan” in the Start menu.
Create a new scan by clicking “New Scan” in the toolbar. The settings dialog provides granular control over color depth, resolution, and file format. The profile feature lets you save different setting combinations for various document types – create profiles for photos, documents, and receipts to streamline your workflow.
One advantage of Windows Fax and Scan is its folder organization system. Scanned documents automatically organize by date, and you can create custom folders for different projects or document types. The built-in viewer supports annotations, making it useful for reviewing and marking up scanned documents.
Accessing Scanner via File Explorer
Windows also allows scanning directly through File Explorer, though few users know about this feature. Right-click your scanner in “This PC” and select “Start scan.” This method uses the Windows scanning wizard, which provides basic functionality without opening additional applications.
This approach works well for quick, one-off scans when you don’t need advanced features. The wizard saves files to your Pictures folder by default, though you can specify different locations. It’s particularly useful when other scanning applications are misbehaving or unavailable.
Method 3: Using Printer Control Panel
Modern HP printers with touchscreen displays can scan directly from the control panel without computer interaction. This method excels for walk-up scanning in shared environments or when your computer isn’t readily accessible. The exact steps vary by model, but the general process remains consistent.
Scan to Computer Setup
Before using control panel scanning, enable the feature on your computer. Open HP Smart or HP Printer Assistant and go to Scan settings. Enable “Scan to Computer” and ensure your computer appears in the destination list. Some models require you to start the HP Scan service in Windows Services for this feature to work.
On the printer’s control panel, select Scan or the scan icon. Choose “Scan to Computer” from the options. Your computer should appear in the list if properly configured. If multiple computers are listed, select yours based on the computer name. The printer will communicate with your computer to initiate the scan.
The scanned document typically saves to your Documents\Scanned Documents folder, though you can change this location in the HP software settings. The printer uses the default scan settings configured in your HP software, so adjust these beforehand for optimal results.
Scan to Email Configuration
Scan to Email functionality requires additional setup but offers incredible convenience once configured. Through the printer’s web interface (accessible by typing your printer’s IP address into a web browser), go to the Scan to Email section. Here you’ll configure SMTP settings for your email provider.
For Gmail users, you’ll need an app-specific password due to Google’s security requirements. Outlook and Yahoo Mail have similar restrictions. Corporate email servers might require IT assistance for proper SMTP configuration. Once configured, you can scan documents directly to any email address from the printer’s control panel.
Network Folder Scanning
Business users often prefer scanning to network folders for centralized document management. This requires creating a shared folder on your network with appropriate permissions. The printer needs read/write access to this location, which might require creating a dedicated user account for the printer.
Configure network folder destinations through the printer’s web interface. Enter the folder path using UNC format (\\ComputerName\FolderName) along with credentials if required. Test the connection before relying on it for important documents. Network folder scanning eliminates the email size limitations and provides better organization for high-volume scanning.
Troubleshooting Common Scanning Issues
Even with proper setup, scanning problems occasionally occur. I’ve compiled solutions to the most frequent issues based on years of troubleshooting HP printers. Most problems have simple fixes once you understand the underlying cause.
Scanner Not Detected Problems
When Windows or HP Smart can’t find your scanner, start with the basics. Verify the printer is powered on and not displaying any error messages. Check all cable connections for USB-connected printers. For network printers, confirm both devices are on the same network by comparing IP addresses.
Restart the Windows Image Acquisition service by typing “services.msc” in the Run dialog. Find “Windows Image Acquisition (WIA)” in the list, right-click, and select Restart. This service manages scanner communication and often stops unexpectedly after Windows updates.
Reinstall your printer drivers if the problem persists. Completely remove existing HP software using the Windows uninstaller, then download fresh drivers from HP’s website. Choose the full software package rather than basic drivers to ensure all scanning components install correctly.
Connection and Communication Errors
Firewall and antivirus software frequently block scanner communication. Temporarily disable these programs to test if they’re causing issues. If scanning works with security software disabled, add exceptions for HP programs and ports 9100, 9220, and 8080.
Network scanning issues often stem from IP address changes. Printers using DHCP might receive new IP addresses after router restarts. Configure a static IP address for your printer through your router’s administration panel to prevent this problem. Document this IP address for future reference.
USB scanning problems might indicate power management issues. Windows sometimes disables USB ports to save power, interrupting scanner communication. In Device Manager, locate your USB controllers, open Properties for each, and uncheck “Allow the computer to turn off this device to save power” under the Power Management tab.
Poor Scan Quality Solutions
Blurry or streaked scans usually indicate dirty scanner glass. Clean the glass with a microfiber cloth and glass cleaner, paying special attention to the calibration strip (the narrow strip along one edge). Even tiny specks can cause lines through your entire scan.
Low-quality scans might result from incorrect resolution settings. Documents with small text need at least 300 DPI for readability. Photos require 600 DPI or higher for quality reproduction. Balance quality needs with file size constraints – a 600 DPI color scan can exceed 50MB for a single page.
Color accuracy problems often trace to incorrect color profile settings. In your scanning software’s advanced settings, ensure the color space matches your intended use. sRGB works for most purposes, while Adobe RGB suits professional photo work. Grayscale mode can improve text document clarity while reducing file size.
Tips and Best Practices
After years of scanning everything from family photos to legal documents, I’ve developed techniques that consistently produce excellent results. These tips will improve your scanning efficiency and output quality regardless of which method you use.
Document Preparation Techniques
Remove all staples and paper clips before scanning to prevent scanner damage and ensure pages lie flat. Smooth out creases and folds as much as possible – even small wrinkles can cause shadows or distortion. For fragile or valuable documents, consider using sheet protectors, though this might slightly reduce scan quality.
When scanning multiple pages, fan them out to separate any stuck together. This prevents page jams in automatic document feeders and ensures you don’t miss pages. Number pages lightly in pencil if order matters, as feeders occasionally grab multiple sheets.
Optimal Resolution Settings
Choose resolution based on your document’s final purpose. Text documents for reading or OCR need only 300 DPI. Higher resolutions won’t improve text clarity but will dramatically increase file size. Archive important documents at 600 DPI for future flexibility. Photos for web use can use 150-300 DPI, while photos for printing need 600 DPI minimum.
Consider your storage constraints when selecting resolution. A single 8.5×11 page at 1200 DPI color can exceed 100MB. Unless you’re archiving artwork or photographs, such high resolutions offer no practical benefit and complicate file management.
File Format Selection Guide
PDF remains the best format for documents, especially multi-page files. It preserves formatting, supports text search with OCR, and works across all platforms. Choose PDF/A for long-term archival storage, as it embeds all fonts and disables features that might cause future compatibility issues.
JPEG works well for photos but uses lossy compression that degrades quality with each save. Set JPEG quality to maximum for important images. PNG offers lossless compression ideal for graphics with text or screenshots. TIFF provides the highest quality for professional work but creates enormous files.
Frequently Asked Questions
Why won’t my HP printer scan to my computer?
Check that your printer and computer are on the same network, the HP Smart app or drivers are properly installed, and Windows Firewall isn’t blocking communication. Restart both devices and try again.
Can I scan without HP software?
Yes, Windows includes built-in scanning through the Windows Scan app or Windows Fax and Scan. These work with most HP printers but offer fewer features than HP Smart.
How do I scan multiple pages into one PDF?
Use HP Smart’s multi-page scanning feature or Windows Fax and Scan. After each page, select “Add page” instead of “Done” until you’ve scanned all pages.
What’s the best resolution for scanning documents?
300 DPI works perfectly for most documents. Use 600 DPI for photos or detailed graphics. Higher resolutions are rarely necessary and create unnecessarily large files.
How do I enable scan to email on my HP printer?
Access your printer’s web interface by entering its IP address in a browser. Go to scan settings and configure SMTP settings for your email provider. You’ll need your email server details and possibly an app-specific password.
Final Thoughts
Mastering your HP printer’s scanning capabilities opens up numerous possibilities for document management and digital organization. While the HP Smart app provides the most comprehensive solution for most users, knowing alternative methods ensures you can always scan when needed. Take time to explore your specific printer’s features and customize settings for your typical scanning tasks. With proper setup and these techniques, you’ll scan documents efficiently and achieve professional-quality results every time.